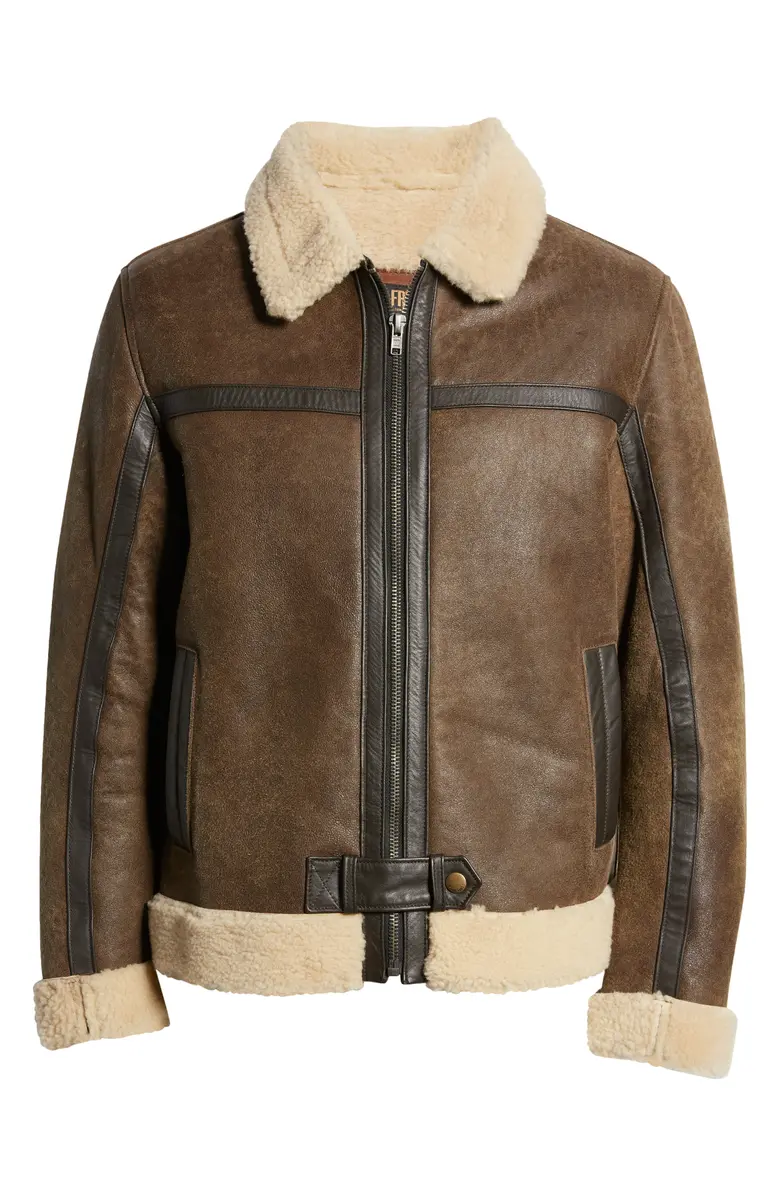
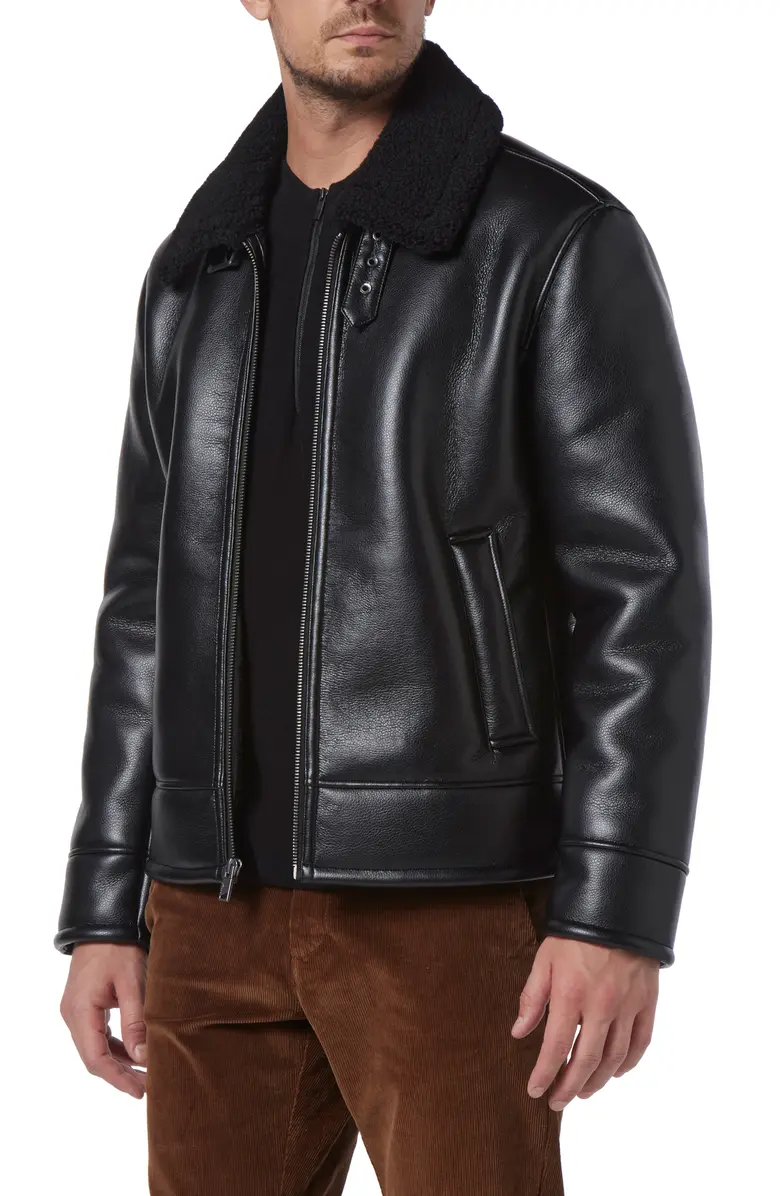
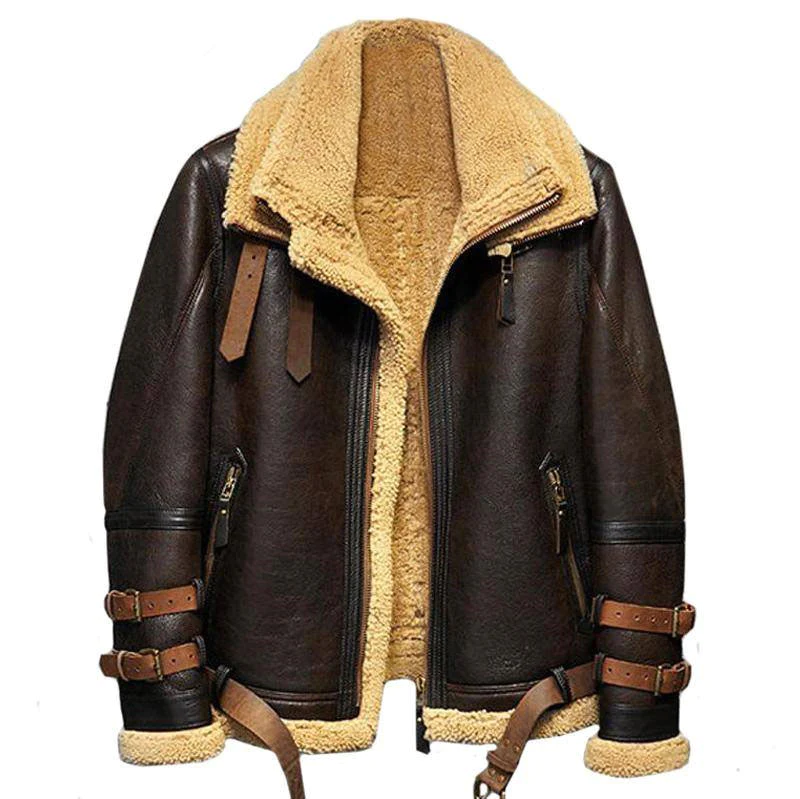
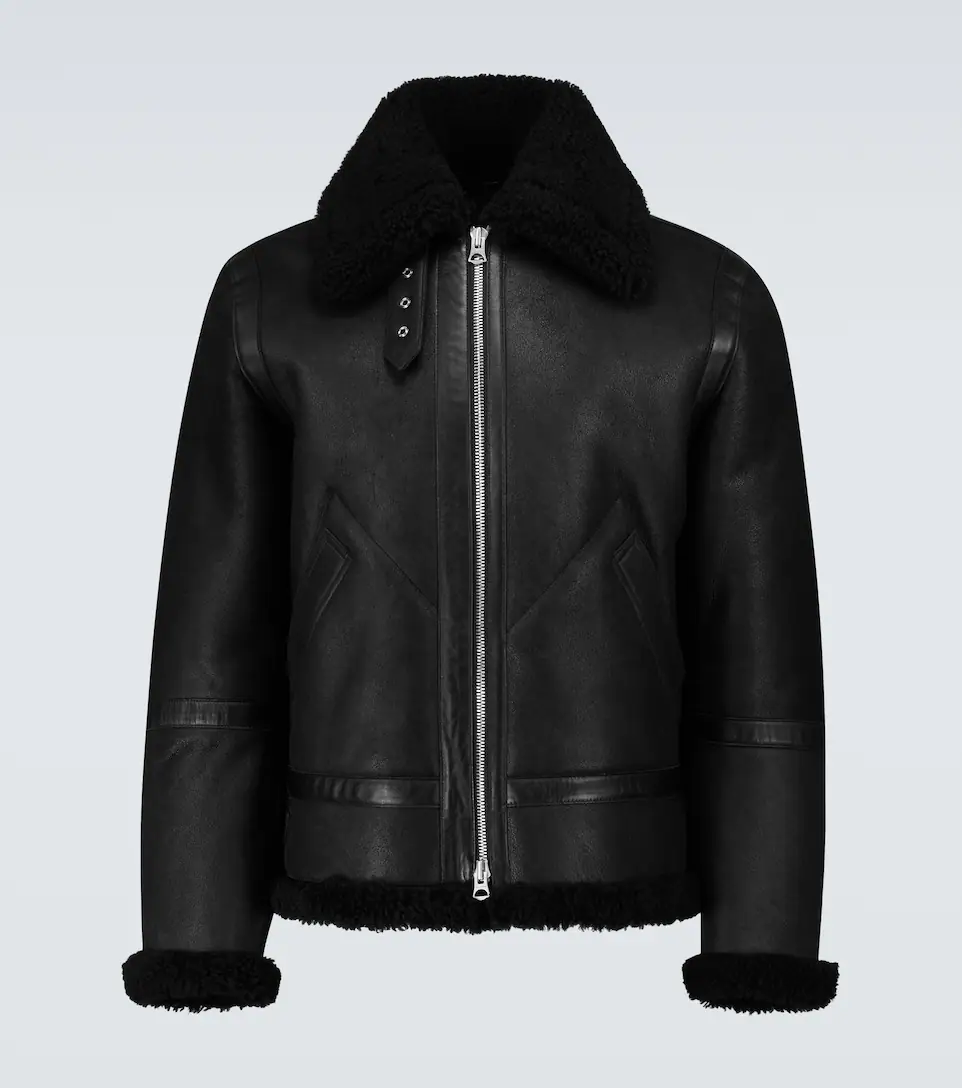
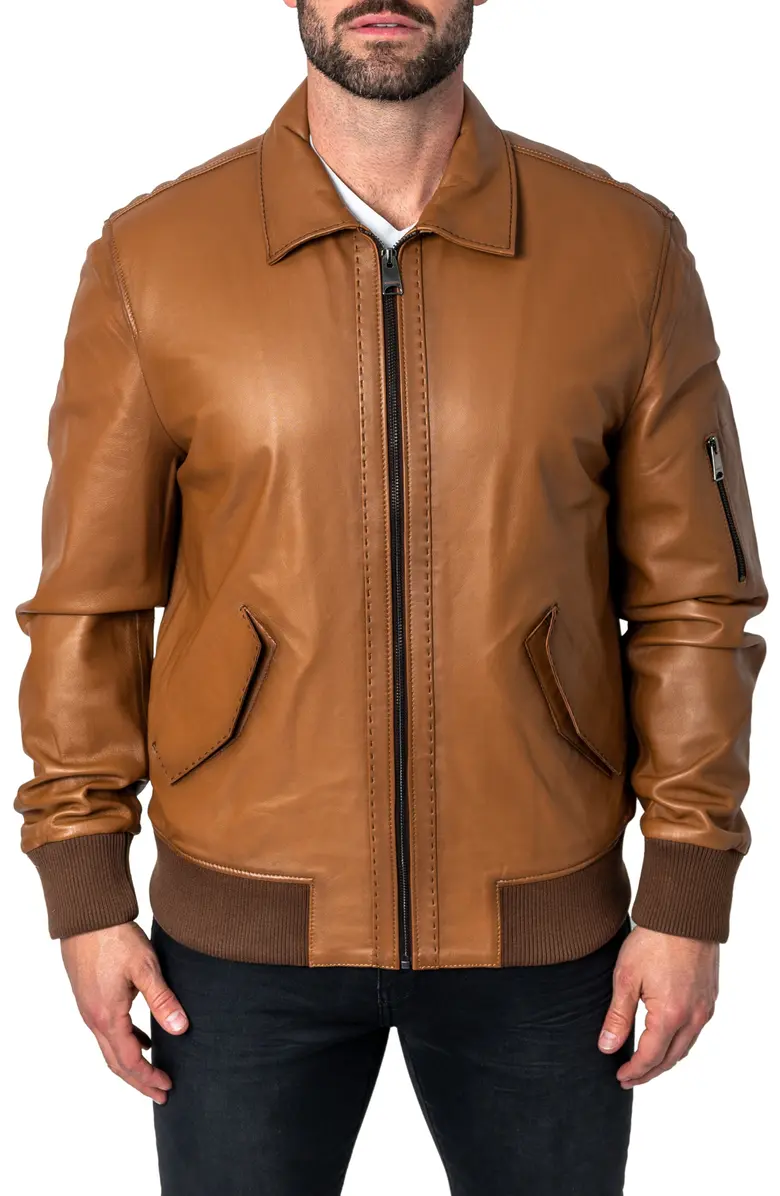
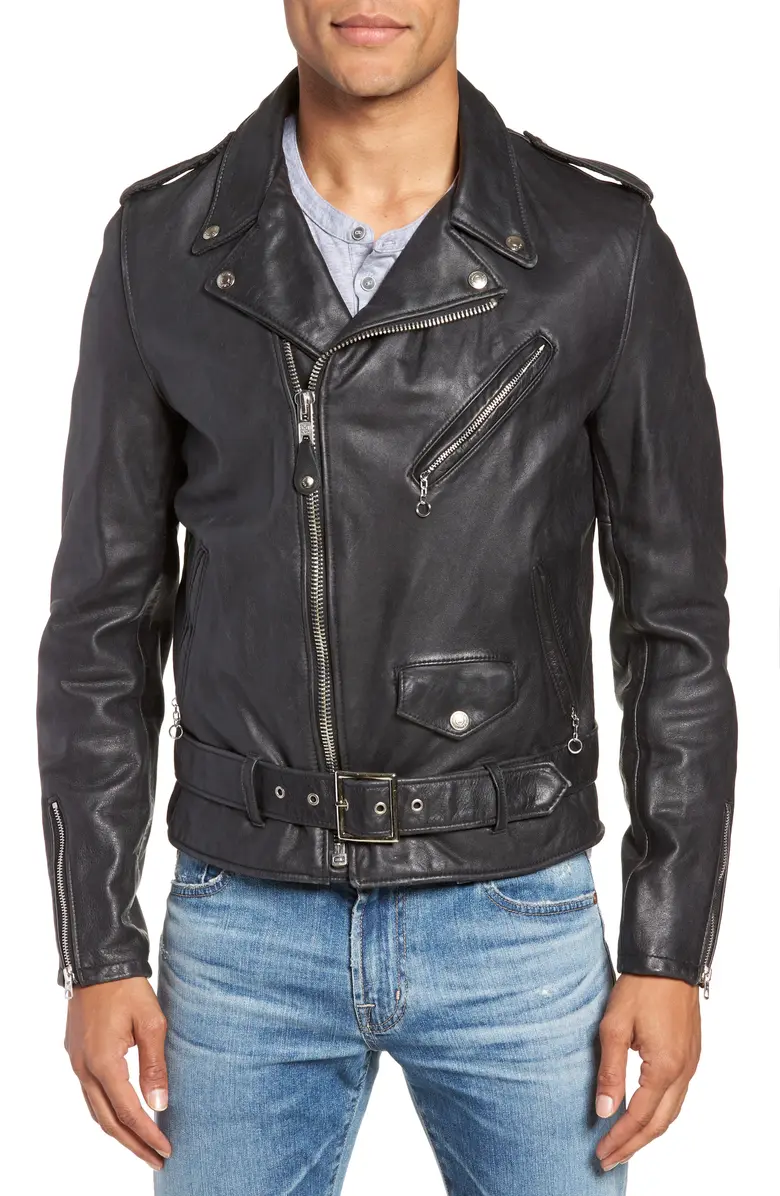
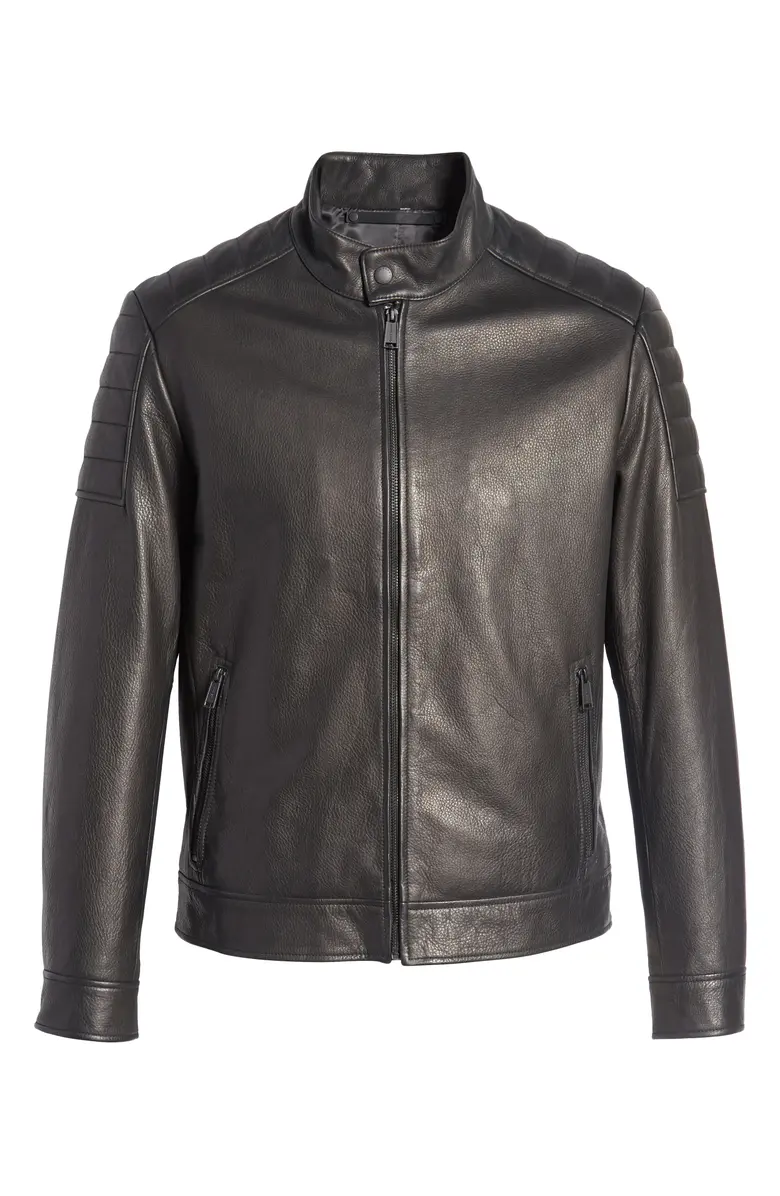
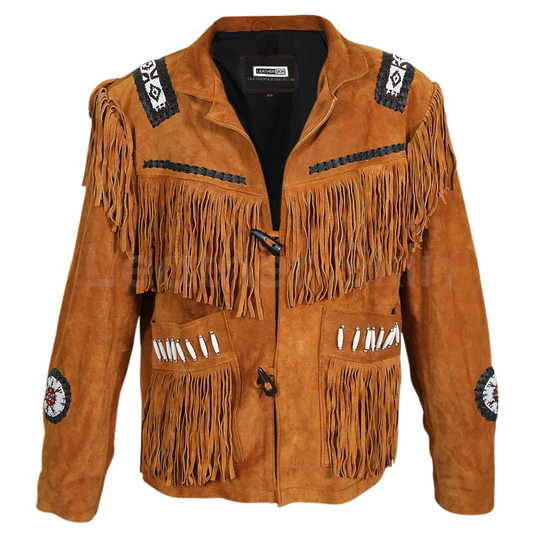
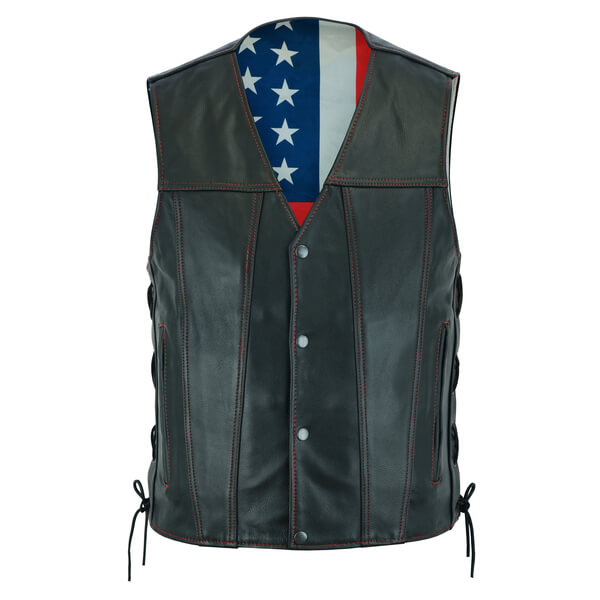
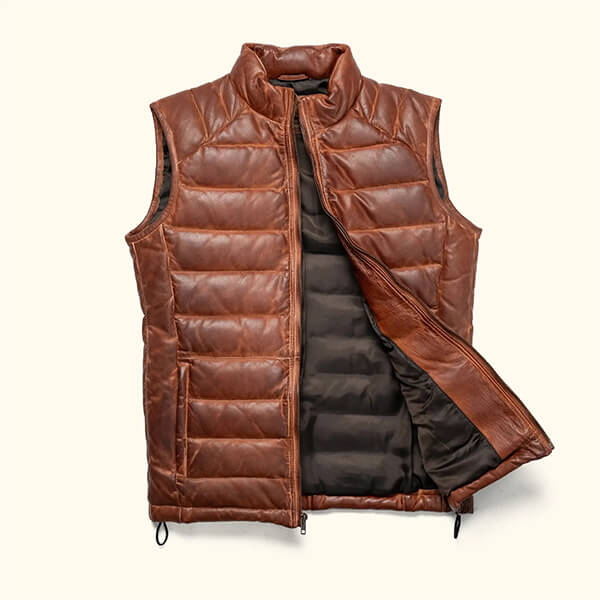
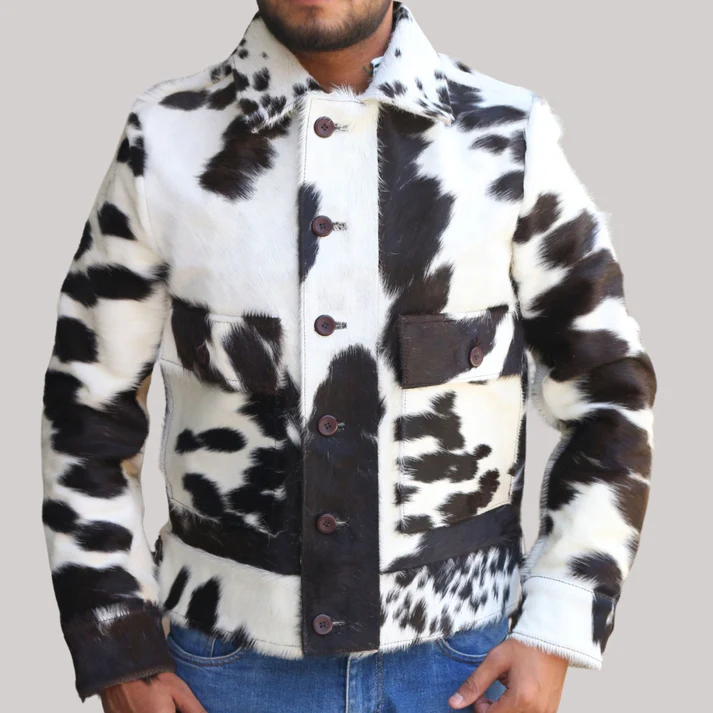
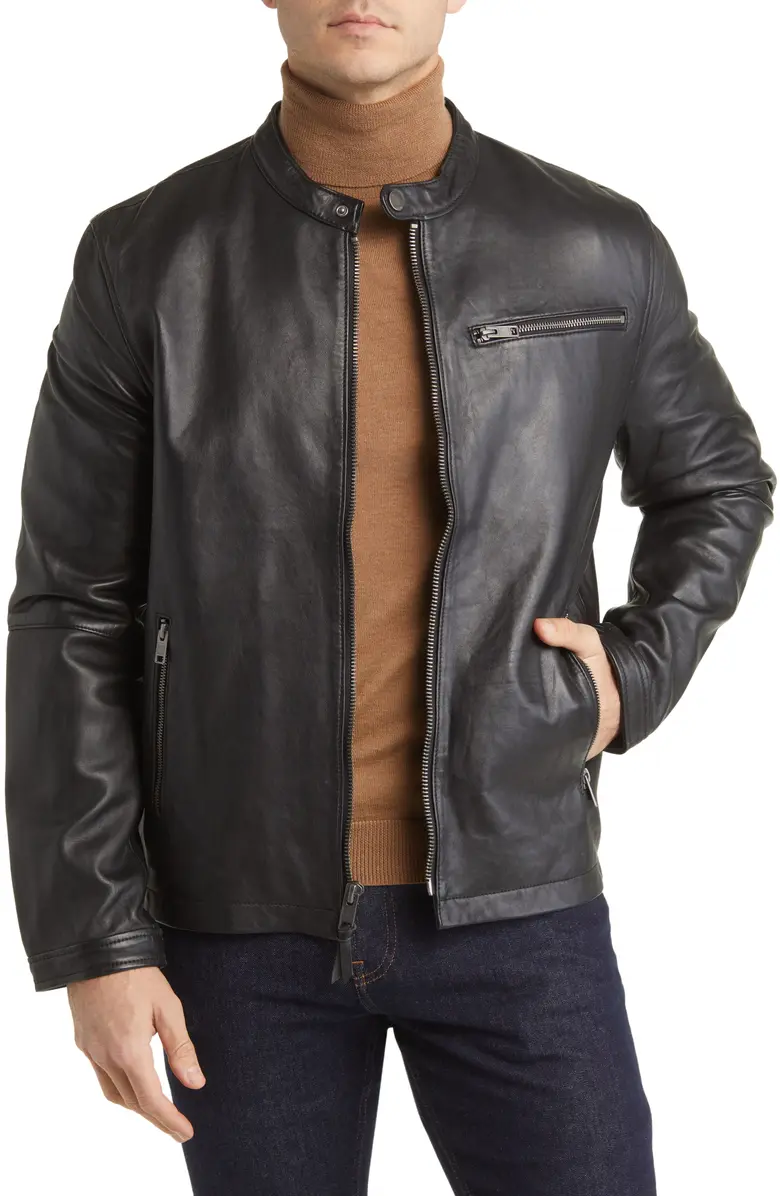
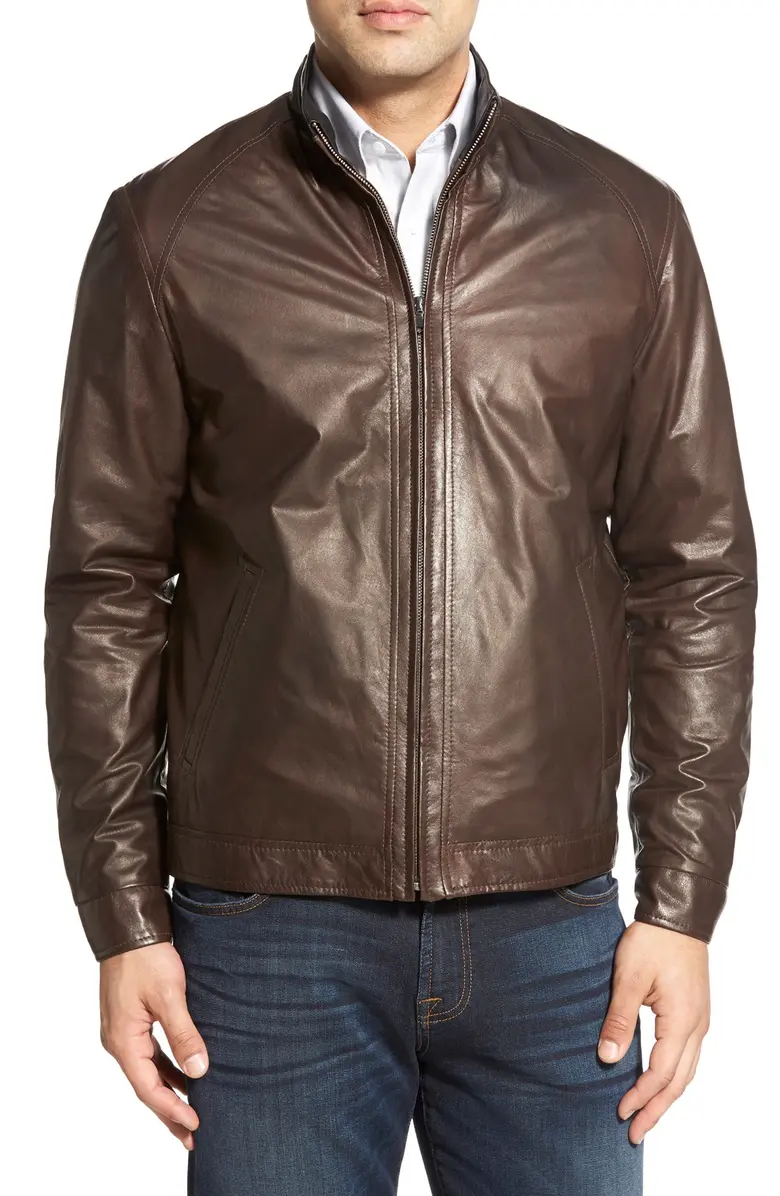
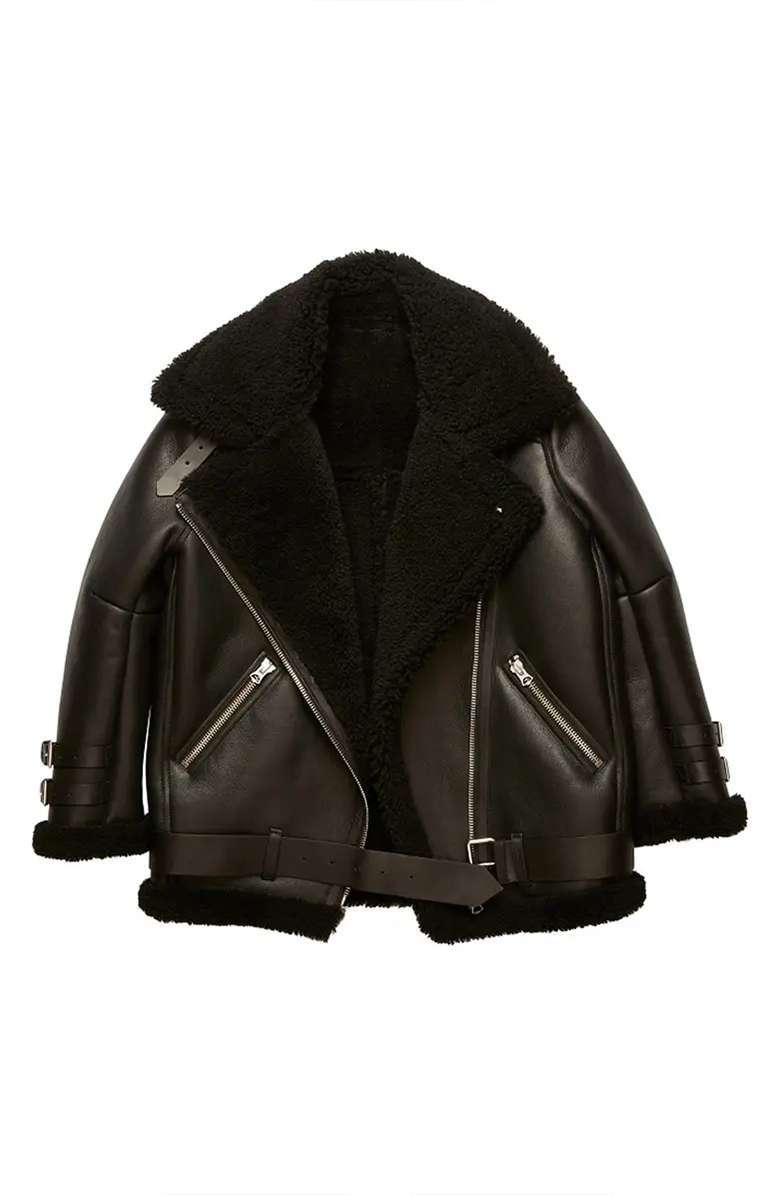
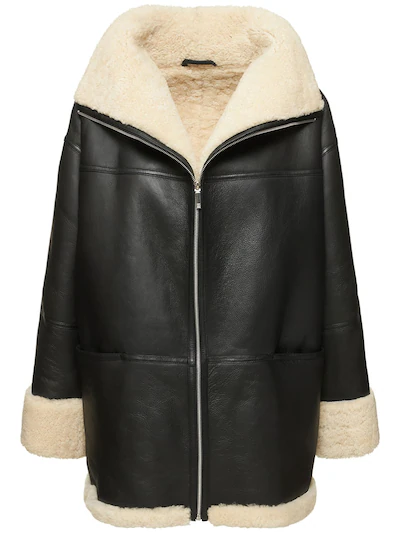
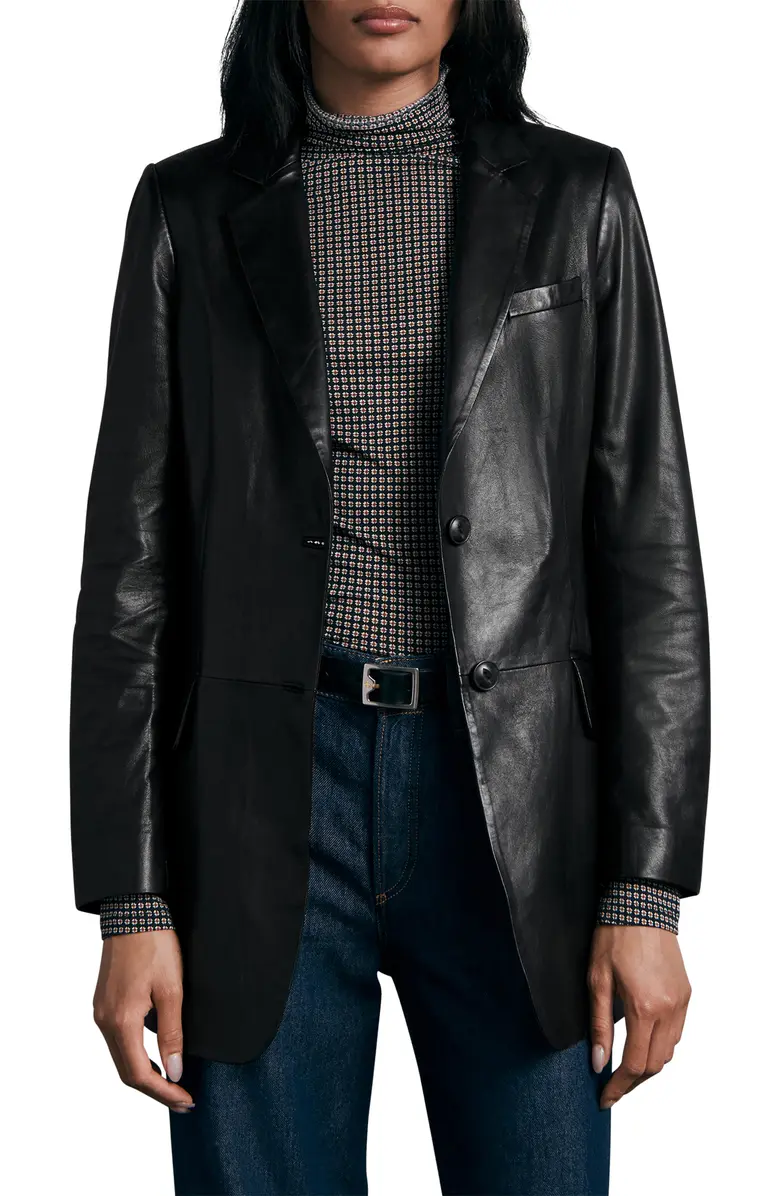
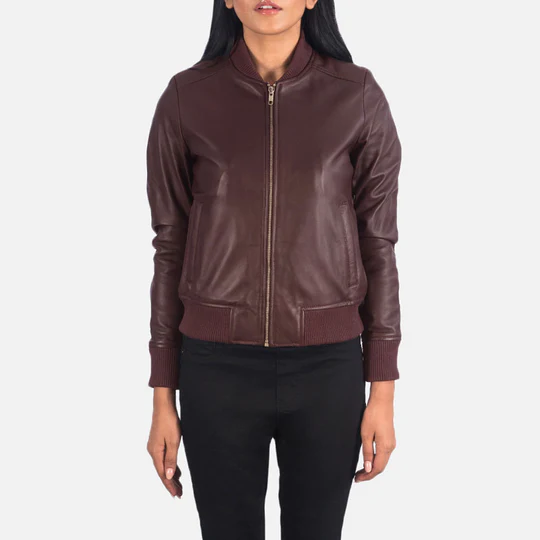
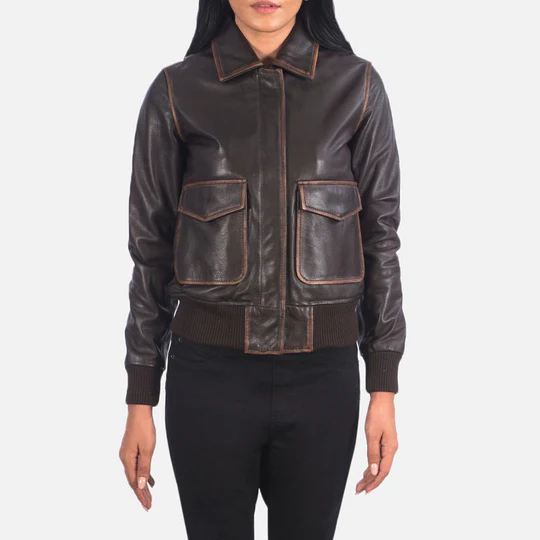
A brand-new leather motorcycle jacket can feel stiff, restrictive, and even uncomfortable during those first rides. Breaking in your jacket correctly not only ensures a perfect fit, but also enhances its durability, safety, and style. Follow this comprehensive, step-by-step guide to transform that rigid shell into a supple, personalized second skin—so you can ride longer, freer, and in absolute comfort.
Understanding the Importance of Proper Break-In
Leather is a natural material with unique grain structure and fibers. When it’s first manufactured and treated:
-
Fibers are compressed and coated with protective finishes
-
Pores remain closed, trapping oils and moisture
-
The result is a stiff, unyielding feel that can chafe and restrict
-
Without proper break-in, stress points can form, compromising safety and causing premature wear
By following a strategic break-in plan, you’ll:
-
Loosen the grain and open leather pores
-
Redistribute natural oils for flexibility
-
Shape the jacket to your body contours
-
Prevent cracks, tears, and discomfort on long rides
Gather Your Essentials Before You Start
Before beginning the break-in process, assemble these must-have items:
-
Leather conditioner (pH-balanced, sulfate-free)
-
Soft microfiber cloths
-
Gloves (optional, but helpful to protect hands)
-
Clean workspace—table or bench with padding
-
Mild soap (for initial cleaning)
Having the right tools at hand ensures a controlled, even break-in that preserves the leather’s quality.
Step 1: Pre-Break-In Cleaning
Clean, dry leather responds better to conditioning:
-
Dust off surface debris with a soft cloth.
-
Mix a few drops of mild soap with lukewarm water.
-
Dampen a cloth—never soak leather—and gently wipe down the jacket.
-
Air dry at room temperature; avoid direct heat or sunlight, which can stiffen or fade leather.
Pro Tip: Test any cleaner on an inconspicuous patch to confirm colorfastness.
Step 2: Applying Leather Conditioner
Conditioner softens fibers, making manual manipulation more effective:
-
Shake the conditioner bottle well.
-
Dampen a microfiber cloth with conditioner; do not oversaturate.
-
Rub in circular motions, covering all panels, seams, and hems.
-
Allow to absorb for 20–30 minutes.
-
Wipe away any excess with a clean cloth.
Repeat monthly to maintain suppleness and water resistance.
Step 3: Manual Manipulation Techniques
After conditioning, focus on targeted areas:
3.1. Stretching High-Stress Zones
-
Collar and Shoulders: Gently bend and flex to open fibers.
-
Elbows and Back: Push fabric together, then pull apart in small increments.
-
Waist and Hips: Twist the jacket while holding the bottom hem.
3.2. Rolling and Kneading
-
Lay the jacket flat on padded surface.
-
Roll sleeves inward and outward like a yoga mat.
-
Knead panels with your hands—similar to dough—working each section until you feel increased pliability.
Step 4: Controlled Wear-In
Actual wear is the most natural break-in method, but do it strategically:
-
Short Sessions (10–20 minutes) around the house—zip up, buckle straps, and perform daily chores.
-
Layer Over Soft Clothing (e.g., long-sleeve tee) to reduce friction while still stretching leather.
-
Ride Moderately on local streets—avoid long highway stints until the jacket adapts.
-
Rotate Positions: Frequently zip/unzip, snap/unsnap, and move arms to encourage even wear.
Key Insight: Consistent, moderate wear trumps occasional marathon sessions, which can over-stress and weaken seams.
Step 5: Heat-Assisted Stretching (With Caution)
Using gentle heat can accelerate break-in—but proceed carefully:
-
Use a Hairdryer on low heat (~100°F/38°C), holding about 8 inches away.
-
Warm a panel for 30 seconds, then immediately flex that area.
-
Never exceed 2 minutes per spot to avoid scorching or drying out the leather.
Warning: Excessive heat causes brittleness, color loss, and cracking. Always follow with conditioner.
Step 6: Professional Services
For high-end or heavily structured jackets, consider a professional leather specialist:
-
Hot-stone treatment using thermostatic stones
-
Steam-assisted conditioning in a controlled environment
-
Custom stretching machines to target hard-to-reach areas
While a higher investment, professional services guarantee even, safe results and can restore older jackets to like-new feel.
Maintaining Your Broken-In Jacket
Once comfortable, preservation is paramount:
-
Regular Cleaning: Wipe off road grime after each ride.
-
Condition Quarterly: Even supple leather benefits from periodic hydration.
-
Store Properly: Hang on a wide, padded hanger in a cool, ventilated closet.
-
Protect from Moisture: Use water-repellent sprays before wet-weather rides.
-
Inspect Seams and Zippers: Address loose threads or corrosion early.
Troubleshooting Common Issues
| Issue | Solution |
|---|---|
| Uneven Stretch | Focus wear and manual manipulation on under-stretched zones. |
| Leather Cracking | Deep condition immediately; avoid heat and store properly. |
| Persistent Stiffness at Seams | Apply targeted conditioner into seam creases with a fine brush. |
| Color Fading | Use UV-protectant leather spray and store out of direct light. |
Frequently Asked Questions
What’s the ideal break-in duration?
Expect 4–6 weeks of regular wear and care for full comfort.
How do I know when the jacket is broken in?
When you feel zero pinching, seamless movement, and the leather molds to your shape.
Can I speed up break-in with water?
Avoid soaking; moisture warps and degrades leather. Stick to conditioner and heat.
Is oil-based conditioner better?
Use pH-balanced conditioners—heavy oils can clog pores and darken unevenly.
Conclusion
By following this detailed guide, you’ll transform your new leather motorcycle jacket into a custom-fitted, ultra-comfortable riding essential. Prioritize gentle conditioning, strategic wear, and preservation to ensure your jacket remains both stylish and safe for thousands of miles.
Start breaking in your jacket today and experience the freedom of leather that truly fits like a glove.
